
Pienza Streets and Hills Photoshoot: From Warm Stone to Val d’Orcia Views
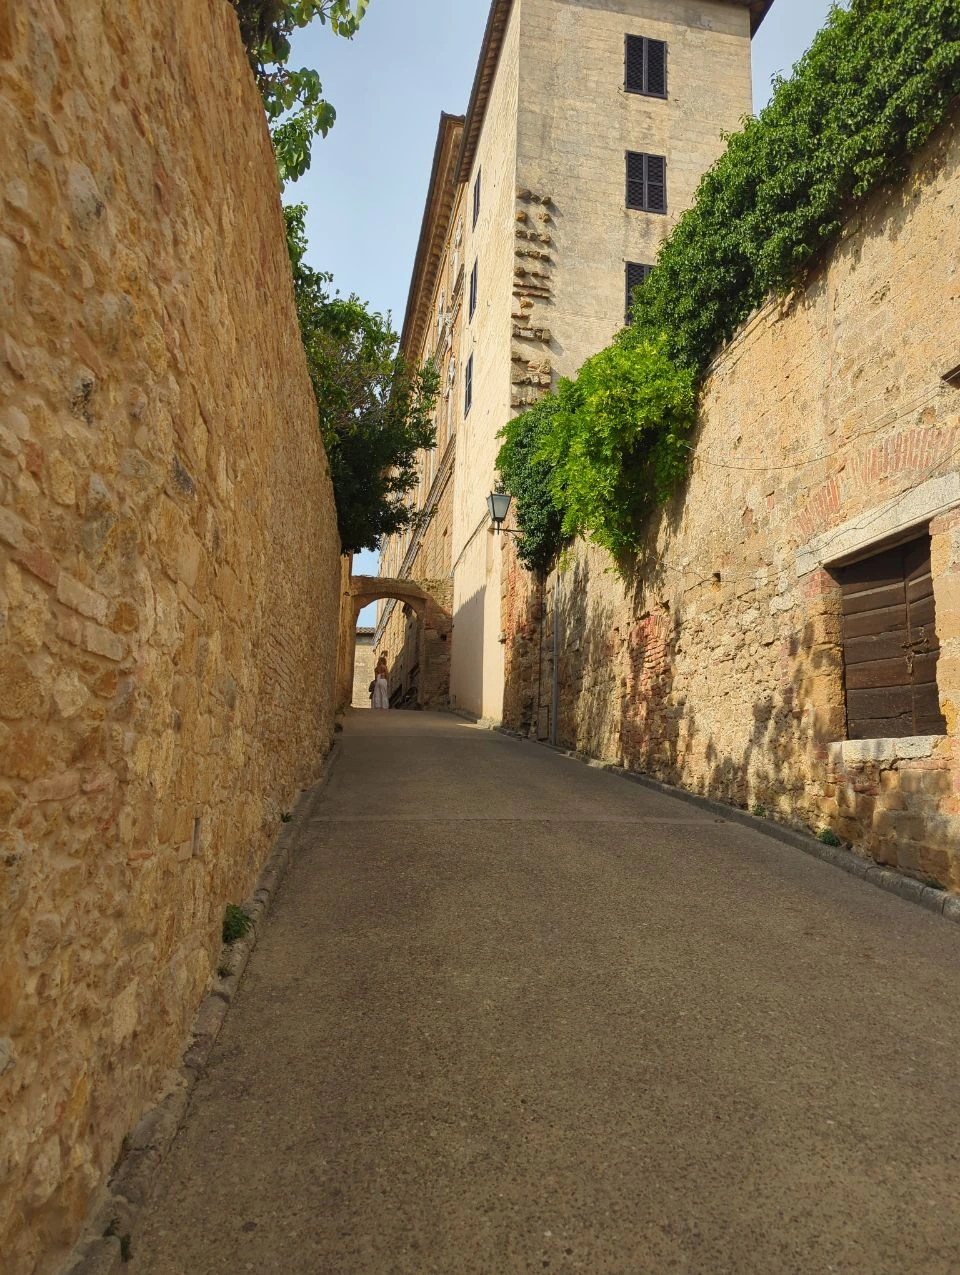
Pienza gives you two beautifully different moods that can still feel like one connected story. You can begin among warm stone façades, arches and narrow streets, then let more light and space enter the photographs before finishing with views towards Val d’Orcia.
On this kind of route, the hills arrive as a distant layer rather than another place you need to reach. You stay within Pienza while fields, farmhouses and ridges appear beyond the village edge.
Updated
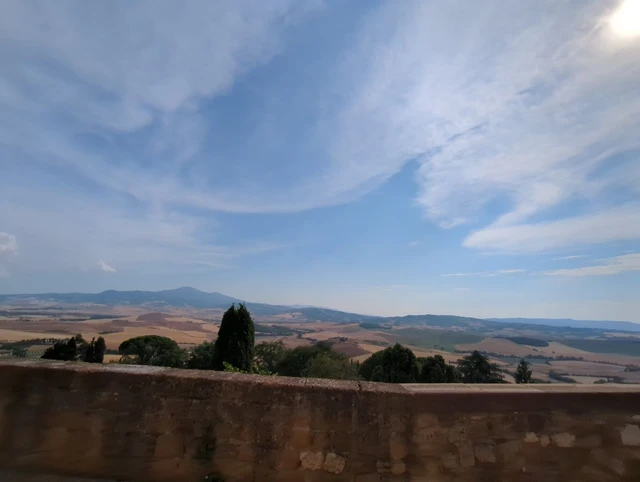
Table of Contents
Why Pienza Opens the Frame So Naturally
Small signs of the village can remain in the story even as the landscape becomes more prominent. Doorways, masonry and arches establish the Pienza setting before the later photographs reveal more of the valley.
The contrast works because the architecture and landscape do different jobs. Stone gives the opening shape and intimacy; the valley later adds distance and air.
Begin with Warm Stone and a Deliberately Close Frame
This is a lovely moment for simple movement. You might walk together, pause where an arch frames the street or turn towards one another beside a doorway. The architecture already provides plenty of structure, so posing can stay relaxed.
Two nearby settings are usually enough for this part of the session. One might use the depth of a narrow street, while another feels more intimate beside an arch or warm façade. They’ll look connected without producing near-identical photographs.
Beginning here also gives you time to settle in. The walls and doorways create a clear setting where you can find a natural rhythm and become more comfortable with the camera before reaching the more open part of the session.
How a Pienza Streets and Hills Photoshoot Moves towards the View
The whole sequence can be completed on foot within Pienza, so there’s no need for a car transfer between the street photographs and the village-edge view.
The transition towards Via del Casello, or another currently accessible panoramic section, should feel gradual. Before the hand-off, capture one close gesture with the stone setting still dominant. After it, let a connecting street introduce brighter light, more sky or a longer background before the wider landscape appears. The valley doesn’t have to be visible around every corner for the gallery to feel connected.
Your photographer doesn’t need to photograph every part of the walk. A busy crossing or an awkward patch can simply become time to stroll together before you pause again where the light, background and available space work well.
The plan stays simple and flexible: begin in the streets, use two different architectural settings, move through the connecting section and finish at one open viewpoint if conditions allow. This gives the photographs a natural progression without turning the session into a strict itinerary.
Reach Val d’Orcia Without Leaving Pienza
The photographs can feel more spacious here too. Try a longer stride, stand a little farther from the camera or pause together against the horizon. Those looser movements look natural against the wider background without needing another location.
Rather than relying on one exact spot, let your photographer choose from the public viewpoints that are accessible on the day. One well-positioned view with suitable light, space and visibility can give the session a strong finish.
Let Light and Weather Decide the Order
Clear later light can warm Pienza’s stone and create stronger separation across the valley. It can also produce deep shade in the streets and bright highlights on pale façades. In those conditions, beginning in softer street light and waiting before moving to the open edge may be more flattering.
Cloud can soften contrast around your faces and give the street portraits a gentle, even feel. Haze may reduce crisp detail in the distance, but it can turn the hills into softer layers. The final photographs don’t need to imitate a clear sunset to feel complete.
Wind may feel stronger at an open viewpoint than in the enclosed streets. If your hairstyle or outfit is sensitive to it, begin with the closer portraits and leave more movement-friendly photographs for later. Strong wind, thick haze or sharp contrast might also make a sheltered stone setting the better final scene.
Keep the final part of the route flexible. If a viewpoint is busy, nearby streets can provide another setting while your photographer reassesses the space. If the light or visibility changes, finishing among the architecture can still give the session a satisfying ending.
Keep the Final Layer Calm, Comfortable and Respectful
Choose an outfit with enough definition to work against both Pienza’s pale stone and the muted greens and browns of the valley. Tonal clothing can look lovely, while a little contrast, texture or movement helps you remain distinct in both settings. A light layer is useful if the exposed edge feels cooler than the enclosed streets.
Stable shoes matter on historic paving, especially if surfaces are uneven or damp. Keep belongings compact enough to put away easily for a few frames. That helps the walk between settings feel like part of the experience instead of a complete reset.
Once you have one strong open-view portrait, the session has a natural place to finish. You don’t need to descend towards every landscape feature visible below or add another stop simply for variety.
Plan a Pienza Streets and Hills Photoshoot
A local photographer can judge which street setting works best, whether the panoramic edge is ready and when the light calls for a change of order. Explore photographers in Pienza to shape the session around the day’s access, visibility and pedestrian activity.
Frequently Asked Questions
Quick answers for planning a Pienza street-to-view couple photoshoot
It usually begins in the connecting streets, where more sky and longer sightlines enter the frame before you reach the panoramic edge. That gradual shift keeps the two looks connected.
No. A public panoramic section can place the valley behind you while the session remains in Pienza. A rural shoot is a separate plan because it may involve driving, safe stopping and land-access permission. Don’t assume that a field or road visible below the viewpoint can be reached directly from it.
Your photographer can adjust the order, use nearby streets while reassessing the viewpoint or finish in a sheltered architectural setting if conditions don’t improve.
Wear stable shoes and clothing that works against both pale stone and a softer landscape background. Bring a light layer and keep bags small so it’s easy to move between settings.
Yes. If the open view has the better light first, your photographer can begin there and return to the stone streets afterwards. The order should serve the conditions, not force them.


Our Pienza Shoots:
Book your Pienza couple Photographer!
Start Booking
A Romantic Walk Through Pienza’s Stone Streets

Pienza Viewpoints for Couple Photos: Balancing Portraits and Tuscan Scenery

Three Simple Backgrounds That Add Variety to Your Pienza Couple Photos
Pienza or the Tuscan Countryside? Which Backdrop Fits Your Couple Photoshoot?
What to Wear for a Pienza Couple Photoshoot: Colours, Shoes and Outfits That Move
Natural Couple Photos in Tuscany When You Don't Know How to Pose
ENJOY $20 OFF
Your first photoshoot when you become an email subscriber.
Related Articles

A Romantic Walk Through Pienza’s Stone Streets
Pienza’s compact historic centre brings Renaissance architecture, narrow passages, modest doorways and cobbled lanes into one walkable setting. From Corso Rossellino, you can move towards Via del Casello and the romantic side streets, choosing a short sequence

Pienza Viewpoints for Couple Photos: Balancing Portraits and Tuscan Scenery
Two photographs taken along Pienza’s village edge can tell completely different stories. In one, you might appear small against the broad fields and distant hills of Val d’Orcia. In another, you remain the clear focus while the countryside or Pienza’s stone ar

Three Simple Backgrounds That Add Variety to Your Pienza Couple Photos
You don’t need a famous landmark every time you want your Pienza couple photos to feel different. Some of the loveliest backgrounds are much smaller: an opening in the stone that reveals the countryside, seasonal plants spilling into a narrow lane or a church-