
Alfama Photoshoot Route: 60 Minutes Downhill From Graça to the Sé
Start above Alfama and Lisbon opens beneath you before the neighbourhood begins to fold around you. Over the next hour, broad views give way to tram streets, tiled terraces and tightly packed lanes, all connected by one mostly downhill walk towards the Sé. The changing scale turns a practical route into a wonderfully cinematic gallery, with far more variety than a hurried tour of unrelated landmarks.
Updated
Table of Contents
Why this Alfama photoshoot route starts in Graça
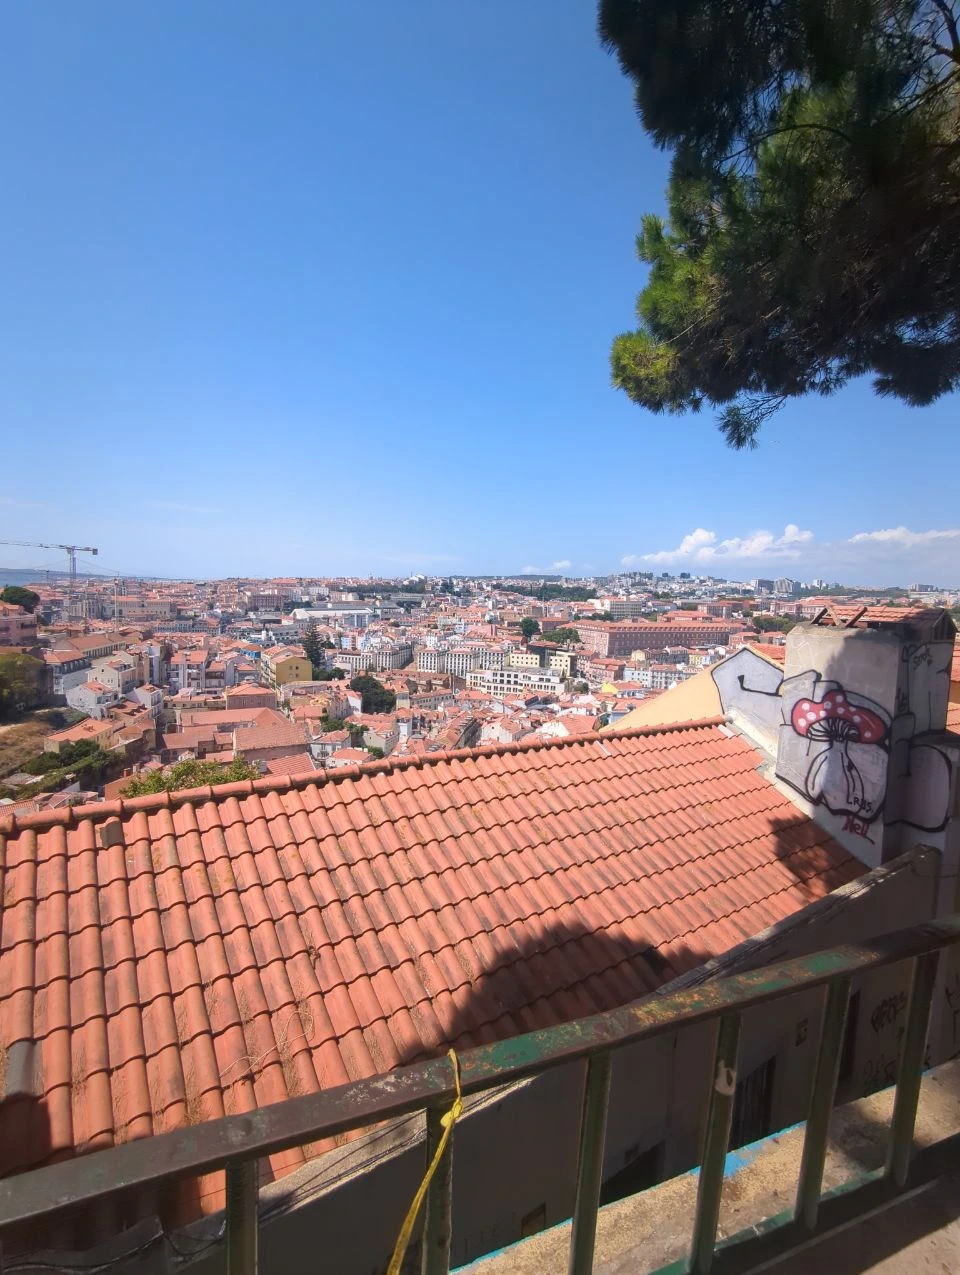
The meeting point gives you immediate access to city and Tagus views, simple portraits against the church walls and a nearby café. The pine trees can offer a welcome patch of shade, though its position changes as the light moves. The Lisbon photoshoot timing guide helps you choose a start time for these changing street and viewpoint conditions.
The 60-minute descent, one visual chapter at a time
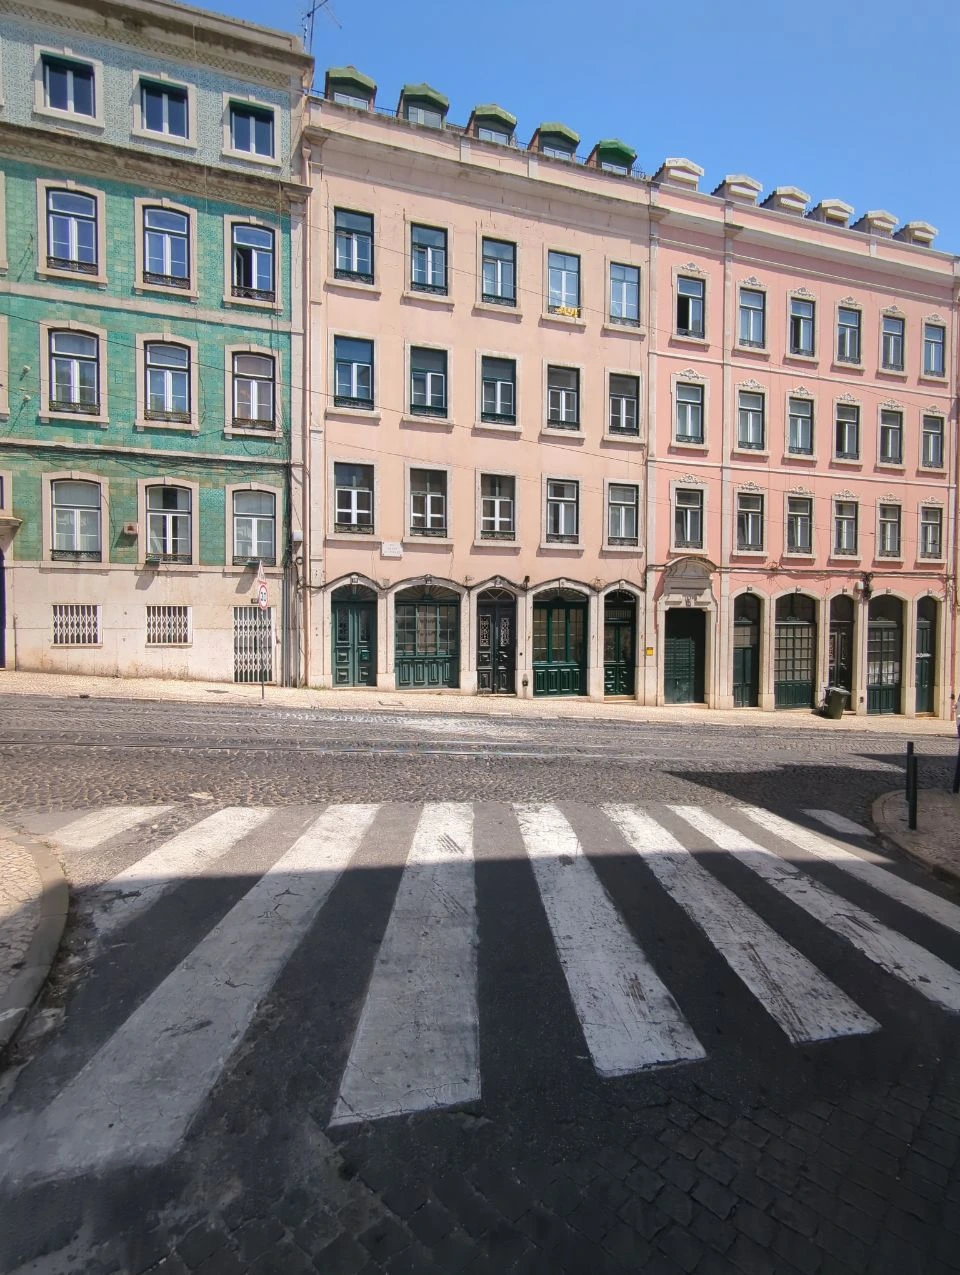
Around minute 12, the streets begin to pull you into Alfama. Give Calçada de São Vicente and Rua das Escolas Gerais about 13 minutes for pavement-based walking portraits as rails bend between the buildings and overhead wires draw lines across the sky.
By minute 25, you’re ready for Alfama’s big reveal at Portas do Sol. Linger for roughly 15 minutes, with plenty of room to change the framing if the terrace feels lively.
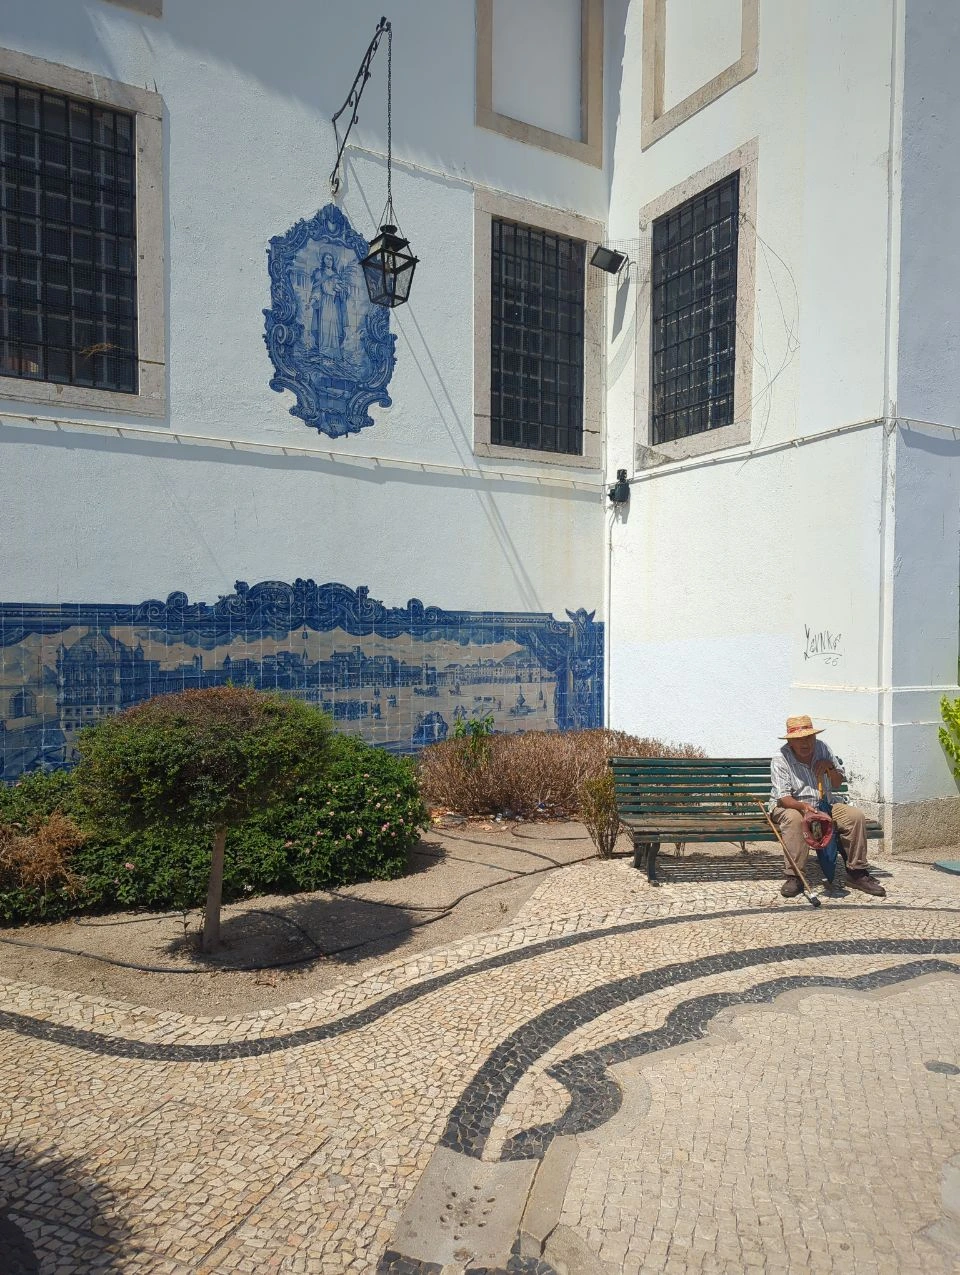
Around minute 40, slip across to Santa Luzia for nine softer minutes among blue-and-white tiles, arches, the garden and pond, with domes and little river views peeking through.
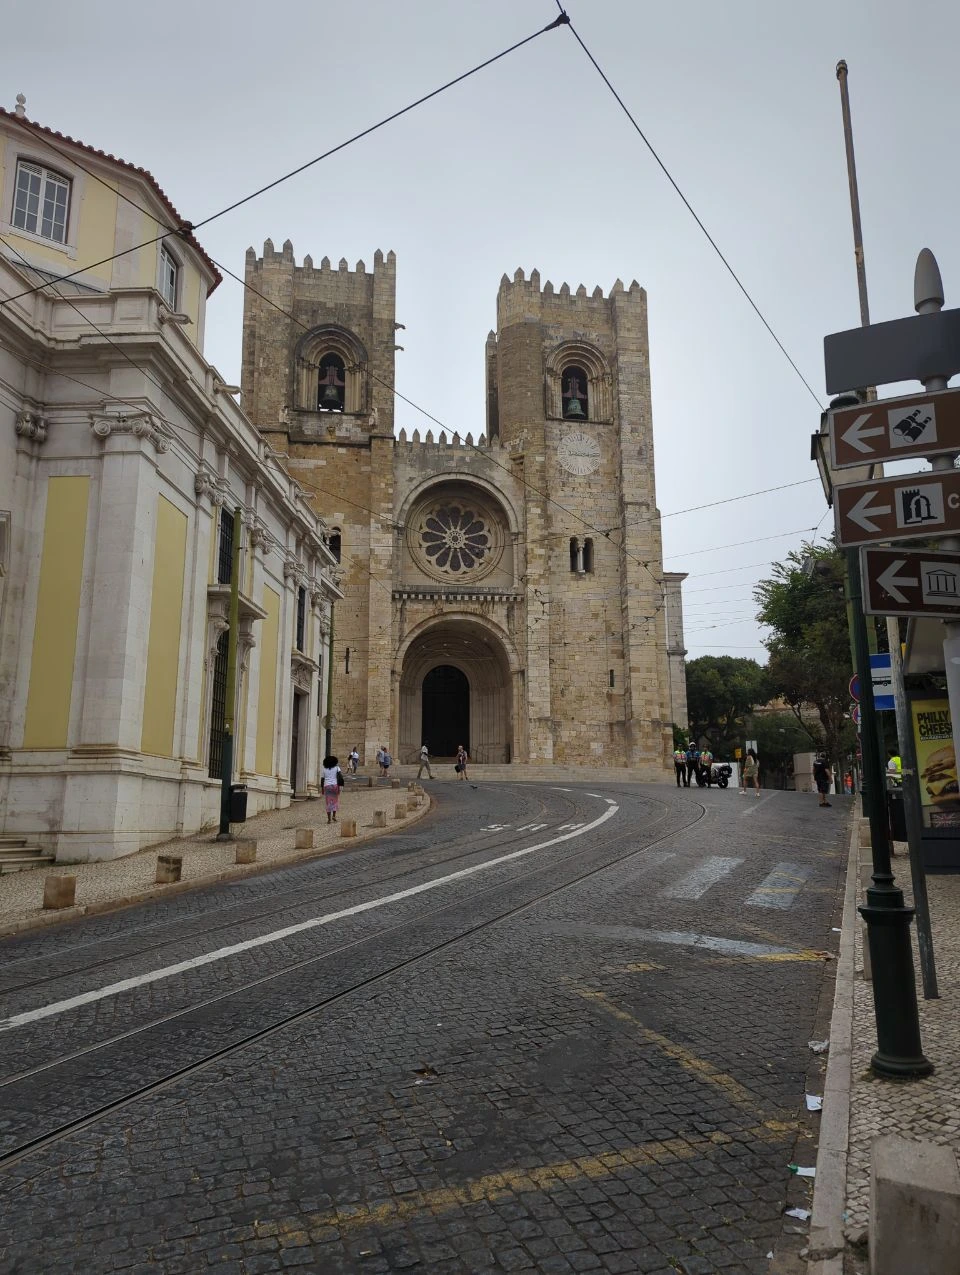
Save the final 11 minutes for Limoeiro, its narrowing lanes and the approach to the Sé. This is where intimate street portraits grow into a strong cathedral finale. If an earlier viewpoint or crossing takes longer, skip the tram wait first and keep Santa Luzia to one set of tile portraits. Your walking pace and the conditions on the day can nudge those timings a little, and that’s absolutely fine.
Graça gives you the wide-open beginning
Graça also lets your photographer vary the scale without changing location. Wider frames include Lisbon and the Tagus; closer portraits use the church architecture to keep the attention on you. That quick switch makes the opening feel generous without delaying the descent.
The tram streets add movement without taking over the session
Stay on the pavement for every photograph. Your photographer can use the curve of the tracks, the buildings and the depth of the street without asking you to stand in the roadway or move close to a tram.
If a yellow tram passes, it can add movement, but the photographs don’t depend on one. The rails, overhead lines and narrow façades already give these streets their character. The Lisbon tram photoshoot guide explains how to compose around a passing tram while keeping the main portraits independent of it.
Portas do Sol and Santa Luzia work better together
Then move to Santa Luzia for portraits framed by tiles and garden details. Because the two viewpoints are so close, you can change the scale and mood without spending much of the session walking between locations.
The lanes to the Sé earn the ending
Around Limoeiro, your photographer can use doorways, balconies, stonework and the depth between buildings. Which corners work best will depend on foot traffic, local activity and temporary access on the day, so the session doesn’t have to depend on one particular lane being quiet.
The approach to the Sé changes the scale once more. After several minutes among tighter streets, the cathedral arrives with enough architectural weight to serve as a clear finale. You haven’t simply added a landmark at the end. The walk has gradually led you from the city above Alfama to one of its most recognisable street-level sights.
How to keep an Alfama photoshoot route inside one hour
Here’s the lovely part: every chapter leads naturally into the next. You keep strolling downhill while the backgrounds change around you, so most of your hour goes into portraits and shared moments, not travelling between scattered landmarks.
If the session begins to run behind, continue along the tram corridor without waiting for a tram. If you need to recover more time, take one set of portraits by the tiles at Santa Luzia before moving towards Limoeiro. This keeps the main viewpoint photographs and the finish at the cathedral.
The route is based on a much broader 17-stop field walk that can occupy three or four hours. The one-hour version doesn’t try to squeeze every corner into a short session. It concentrates on five parts that offer the clearest visual changes, so the route stays varied without turning into a race.
Before leaving for Graça, take a quick look at current CARRIS notices and confirm the meeting pin with your photographer. Temporary works or diversions may adjust one part of the descent, but they don’t necessarily prevent the wider route from working.
What 90 minutes changes
The longer session is useful if you’d like a gentler pace on the cobbles or more time for close-ups, outfit details and spontaneous portraits around doorways and balconies. Choose 60 minutes for the focused descent, or 90 minutes when you want to linger in lower Alfama and follow a promising side street without watching every minute.
Plan your Lisbon photoshoot
Alfama photoshoot route FAQs
Choose secure, comfortable shoes with a stable sole, especially if you’re not used to polished or uneven cobbles. You can bring dressier footwear for selected portraits, but you’ll want something dependable for the walking sections between them.
The full walk won’t suit every mobility need because it includes slopes, cobbles and crossings. Your photographer can instead plan an adapted session with fewer transitions or focus on one more accessible location.
No. You only need to arrive at the exact Graça meeting pin shared by your photographer, whether you reach it by tram or another practical option from your starting point. Plan to arrive a little early so the full session can begin on time.
The route works best with a small styling change rather than a full outfit change, as it doesn’t include a planned private changing space. A jacket, scarf or accessory adds variety without taking much time, and keeping the rest of your belongings light makes the descent more comfortable.
After light rain, the route can still work beautifully if the cobbles are comfortable to walk on. Your photographer can check the conditions with you and suggest a shorter route, fewer transitions or a different meeting point if needed.
Your photographer can often reconnect with the walk around Portas do Sol, Santa Luzia or Limoeiro. A diversion may take longer, so one shorter portrait stop might be skipped to protect the finish near the Sé.


Where to Propose in Florence: Choose the Proposal Style She Would Love
Where to Propose in Florence: Choose the Proposal Style She Would Love
What to Wear for a Temple Photoshoot in Bangkok
What to Wear for a Rome Photoshoot: An Outfit That Moves With You
What to Bring to a Bangkok Photoshoot
Wat Pho or Wat Arun: Which Bangkok Temple Is Better for Photos?
ENJOY $20 OFF
Your first photoshoot when you become an email subscriber.
Related Articles
Where to Propose in Florence: Choose the Proposal Style She Would Love
Find the Florence proposal setting that feels most like her, from peaceful gardens and hidden viewpoints to classic landmarks and stylish rooftop evenings.
Where to Propose in Florence: Choose the Proposal Style She Would Love
Discover where to propose in Florence, from quiet gardens and hidden viewpoints to classic landmarks, romantic rooftops and relaxed Oltrarno streets.
What to Wear for a Temple Photoshoot in Bangkok
Choose a comfortable, respectful and photogenic outfit for a temple photoshoot at Wat Pho, Wat Arun or the Grand Palace in Bangkok.